Bokeh by Shelby Zavala
- Angie Mahlke

- Nov 29, 2020
- 4 min read
Hi everyone, Shelby Zavala of @in_thislight here! Happy December! I am so excited and honored to be included in this month’s theme which is something I am ALLL about: BOKEH!
I’ll be specifically touching on holiday light bokeh and bokeh overlays, even teaching you how you can shoot and make your own bokeh overlays!
First let’s talk about tips and tricks to capturing holiday bokeh in all its glory!
Shoot with a wide aperture. Use the widest aperture your lens allows. f/1.2 - f/2.8 depending on the lens
Use longer focal lengths. My favorite lenses for achieving beautiful bokeh are the Sigma Art 35mm 1.4 (This is my go-to lens for indoors,) the Canon 85mm 1.2L II (which is my ALL TIME favorite lens,) the Sigma 105mm 2.8 Macro (not only is this lens great for nature photography but It’s a beautiful portrait lens with the ability to capture amazing bokeh,) and lastly, the Canon 70-200mm 2.8L II (this is the only zoom lens I own since I prefer prime lenses but it produces some absolute gorgeous bokeh and I use it for a fun technique I’ll talk about in a sec!
Separate your subject from the bokeh source. The further away your subject is from the light source, let’s say holiday lights in this case, the larger the bokeh. If your subject is on the same plane as the lights, you are not going to achieve that beautiful bokeh effect.
Example: Both photos are SOOC shot with the Sigma Art 35mm 1.4 with the exact same settings: f/1.4, ISO 2000, 1/125sec. The only difference is where I placed my subject in relation to the lights. In the second photo I separated my subject further from the lights creating a wider depth of field which creates the beautiful bokeh I love.

Sigma Art 35mm 1.4 @ f1.4, ISO 2000, 1/125sec - Subject is basically on the same plane as the lights
Sigma Art 35mm 1.4 @ f1.4, ISO 2000, 1/125sec - Subject is further away from the lights
Outdoor examples of holiday light bokeh:

Canon 85mm 1.2L @ f/1.2, ISO 2000, 1/800sec
I captured this shot during “blue hour.” Here, my daughter’s face is facing west where there was just enough light still left in the sky to illuminate her face.

Canon 85mm 1.2L @ f/1.2, ISO 2000, 1/125sec
This one was shot when it was completely dark out. We were actually in the middle of the park where there were no lights to illuminate my daughter so I pulled out my iPhone flashlight and shined it on her. I really wanted to capture the holiday lights from all the way across the park to get that big bokeh effect.
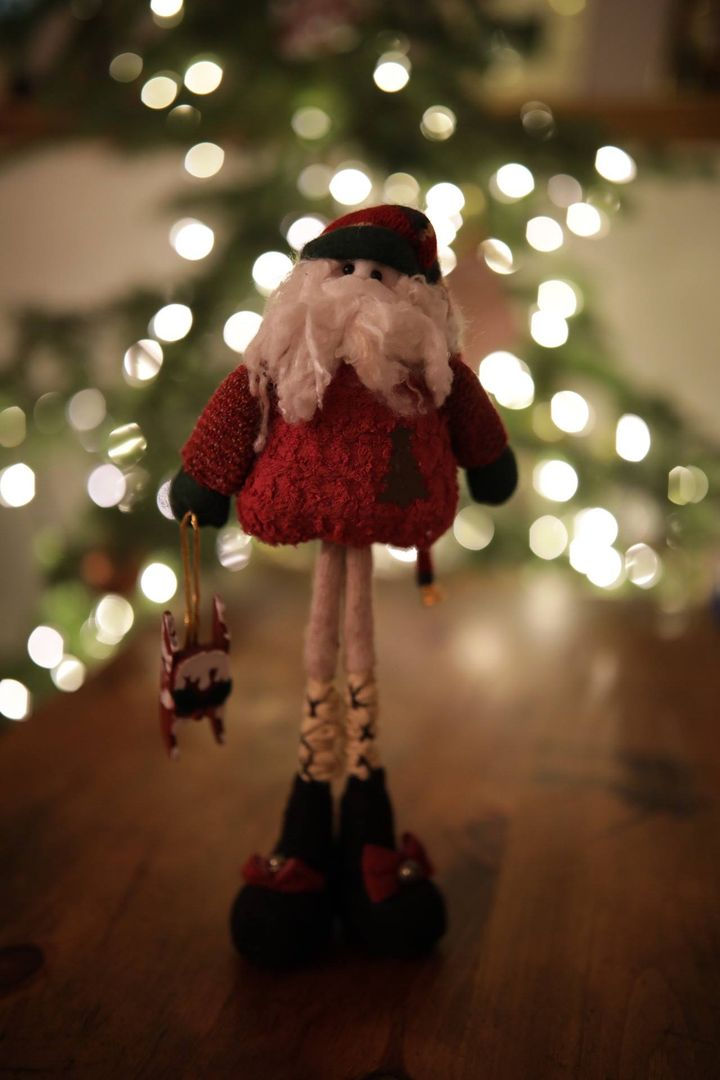
Now that I’ve touched on some tips and tricks for capturing holiday light bokeh, let’s talk about one of my favorite ways to use holiday light bokeh, bokeh overlays! I love creating my own bokeh overlays to enhance the bokeh in holiday images. Here are some of my tips and tricks and examples of how I use them.The obvious and easiest choice for capturing bokeh for overlays is a Christmas tree, but you can get creative with different holiday lights to create different results!
Experiment with free lensing and manual focus. I’ve found the most effective way to capture bokeh for overlays is to switch my lens to manual focus and shoot on live view. I adjust the focus until I get the bokeh that I like. Free lensing is also a really fun way to do this! Again, use live mode on your camera so you can see how moving the lens affects the bokeh result!

SOOC Free lensed ISO 1600, 1/250sec

Free lensed bokeh overlay ISO 1600, 1/250sec

Final Image
Use a zoom lens and a slow shutter speed. This is what I was referring to with my 70-200mm. Since this is my only zoom lens, It’s what I use, but any zoom lens will work for this! You’re going to want to zoom in or out as you press down the shutter. You need a really slow shutter speed to have enough time to zoom. This will take some experimenting to get different effects. Here is one of my favorites using this technique:

Canon 70-200mm f/2.8, ISO 100, 1/4sec <- super slow shutter!

Final Image
Okay, now let’s actually talk about HOW to use these overlays.
First, you’re going to want to edit the overlay in order to achieve the dark black background.

SOOC free lensed bokeh overlay ISO 1600, 1/250sec

Edited bokeh image - brought down the blacks in Lightroom as well as used the brush tool to bring down the exposure on the right side of the image.
Next, bring your edited base image and your edited bokeh overlay into Photoshop, place the bokeh image on top of the base image and set the blend mode to “screen.” This blend mode will eliminate any areas that are black and you’re just left with the beautiful bokeh! This is why it’s important to make the background of your bokeh image as dark as possible.
Finally, mask off any areas where you don’t want the bokeh overlay, such as your subject’s face.
Here’s another example of an image where I used a bokeh overlay to enhance the light bokeh from the Christmas tree.

Sigma Art 35mm 1.4 @ f/1.4, ISO 2000, 1/60sec

Sigma Art 35mm 1.4 @ f/1.4, ISO 4000, 1/200sec
I hope you were able to take away some tips and tricks as well as inspiration to experiment with holiday light bokeh this holiday season! I really look forward to seeing what you all create!
Love and happiness this holiday season!


Comments