Black and White by Kennon Guerry
- Angie Warmington

- Mar 22, 2020
- 10 min read
Black and White

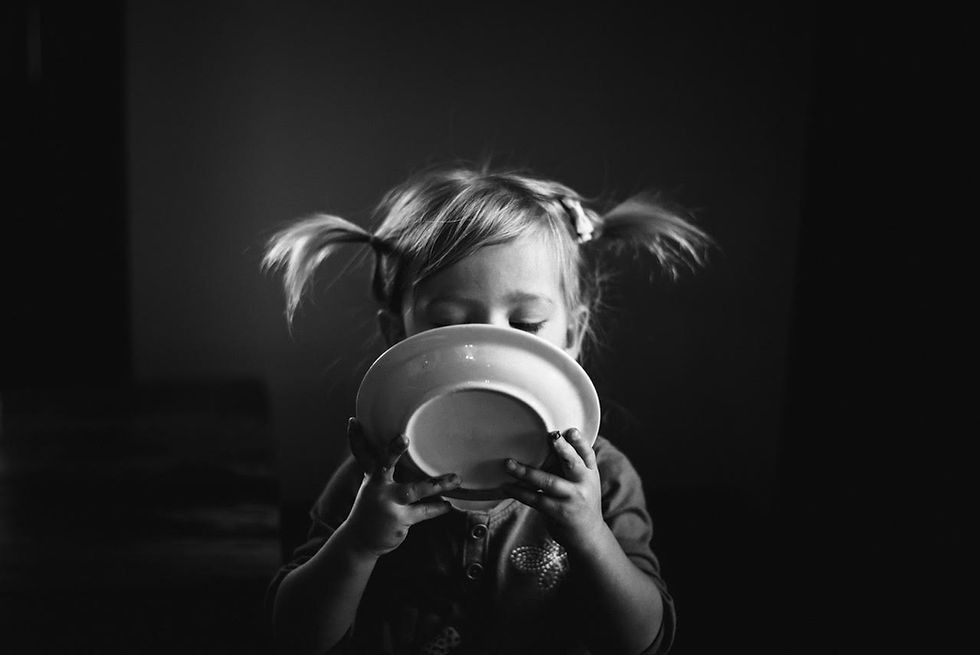
42mm f3.5 1/100 ISO 200
Hello! My name is Kennon Guerry; I am a mother of 3 children currently aged 12, 9, and 3. I have been drawn to black and white photography for as long as I can remember. When I see and settle into a beautiful black and white image I have a similar experience to opening the curtains on a snowy morning. The view outside my window is the same back yard, but it is totally transformed by snow into what feels like its purest state. Seeing my yard, the climbing tree, the playhouse, a bike left out of the garage blanketed in snow makes me really seethe scene outside my window. It’s like you have to unknown something, someplace, or someone to really know them. I love that magic and my experience converting an image of one of my children into black and white gives me the same revelatory feeling. When I’m editing an image in black and white, I feel like I’m looking at my child transformed and somehow more themselves. The distraction of color is gone, and what’s there is light, shadow, darkness, form and their essential self — if I am lucky. I certainly don’t have that revelatory snowy morning epiphany of seeing my child transformed and exactly as he or she is with every image that I convert, but the hope of this keeps me striving to capture that image and to learn more about the editing craft. That said, these are some things that I’ve learned about black and white photography.

35mm f2.2 1/500 ISO 400
Gear: Canon 5D Mark IV.
Lenses Sigma Art 35mm 1.4, Canon 24-70 f/2.8, Lensbaby Sol 45, Canon 100mm f/2.8 Macro, and a 50mm f/1.4 for freelensing.
What I like in an image: The snowy day metaphor only takes me this far because I love a black and white image with the subject in front of a dark background. I love the quiet intimacy of a low-light black and white portrait. I love dramatic tonal range with rich blacks and shadows, complex mid-tones to showcase highlights and whites — I promise not to use the word “chiaroscuro.” I love to see texture and detail throughout the tones, and, most importantly, I like to see a child being their beautiful, graceful, messy, honest self.

33mm f2.8 1/250 ISO 600
Shooting:
I live in the Pacific Northwest. It’s not always gloomy, but it’s often gloomy. I’ve learned to appreciate gloom. In fact, I’ve become bosom buddies with gloom. I adore low light. I love the quiet intimacy of a low light, black and white image. I love to see the light of my subject’s face emerging from shadows. My camera is a vampire, it comes out when the light is low. When light is plentiful, I’m out in it, and my camera is shuttered in a cabinet.

50mm Freelensed 1/500 ISO 500
Indoors: I love window portraits. I take a lot of photos of my children sitting next to windows. I only use natural light, so the window is my only source indoors. When light is low, right up next to the window is the only place that I can expose the image. On an overcast day the window light is softer and provides a more gentle transition from light to shadows. I painted my son’s bedroom gray and also painted an accent wall in my kitchen next to a west-facing window. These rooms are my favorites to shoot in because the dark background disappears behind my subject with very little work in post processing.
I like to shoot with my child’s face positioned between a 45 and 90 degree angle from the window to get split lighting, or something approximating Rembrandt lighting with an open or closed triangle of light on the cheek furthest from the light source.
Settings: I tend to underexpose my images, because I don’t want to overexpose highlights on skin or even in the window or background if I can avoid it. I typically meter off the strongest highlight in the frame. I then set my aperture between f/2.8-3.5. I don’t have space in my home to get enough distance between my subject and me to shoot comfortably at f/1.4, and I don’t like to have a depth of field that is so narrow that the eyes of my child are in focus but the nose is soft. However, if the light is really low, which it is when I’m shooting right after sunset, then I may open up to f/1.4 to keep from going above ISO 2,000 — which I totally do, but I try not to, because I prefer an image light on noise. Then I set my shutter speed around 1/500, or lower to around 1/250 if the light is too low. Finally, I set my ISO to expose the image with a reasonable shutter speed to photograph a fidgety subject.
Editing: Because I shoot in low light with a dark background, my histogram rarely has the classic mound in the midtones, but instead typically has a dramatic sharp peak of content in the blacks and shadows and a low plateau through the midtones and highlights.

47mm f3.5 1/400 ISO 1600
I shot this image of my little astronaut in our tree house. Our tree house is perfect for portraits because it has windows facing all four directions with curtains that I can shut or open. The final edit of this image was completed in Photoshop where I duplicated the wall on the left of the frame to remove the curtains from the window and to give it the feel of a space pod.
Here is my SOOC:

See how soft the light is — but it’s there and it’s beautiful. Notice in the screenshot below the histogram spike in my blacks and shadows and the low plateau through midtones and highlights? That indicates a nice, low-light image for conversion. If you look closely, he has nice catchlights in his eyes from the window frame, right, so the light is low but it’s very much there and reflecting in his eyes.
Editing:
Lightroom

Here is my base edit before I took the image into Photoshop. After converting the image to black and white, I add an S curve in the tone curve to give the image more depth and contrast. Lowering the shadows also helps the background fall off. I then crank up the clarity slider to about 70, or even higher, it really depends on the image. I stop right before skin stops looking like skin. I think too much clarity can give skin a thick leather-like feel. Raising clarity raises highlights, so I then lower highlights to a level that is bright, but where I can still see detail in the skin. Robin Fox shared a helpful rule of thumb to look for an R level range of between 80-90 for skin highlights of subjects with fair skin.
I like dehazing a black and white image by pulling the dehaze slider up to the right, sometimes just a little (7-ish) and sometimes quite a bit (over 20). To build up the light present in the image, I use a brush with a highlight or an exposure increase, as well as radial filters or graduated filters — depending on the image and my mood. I can get lost in this process of dodging and burning highlights and shadows to bring out the story of how shadows and light interact and relate to one another. But I try to let shadows be shadows because I love them just as they are.
I then move down to the HSL panel. Remember all the color data is still present in your conversion so you can adjust the shadows, midtones and highlights by bringing up or down the HSL sliders of the colors present in the tones. I don’t get too deep into the HSL panel. I usually bring up the orange luminance slider a tiny amount to lighten skin, and, if it is an outdoor image, I may tinker around with yellow, green, and blue.

35mm f2.0 1/400 ISO 800
Next I lighten my subject’s eyes. The added contrast of the S curve darkens eyes so I like to bring them back to the brightness of the original image with either an adjustment brush or with a radial filter over the iris but not the whites of the eyes. The adjustment depends on the image but it usually involves an increase in exposure, bringing up the shadows slider, and maybe the highlights slider and an increase in either clarity or contrast to compensate for the increase in exposure. If you use a radial filter or a brush, duplicate the adjustment from the first eye and copy it on the second eye so they are evenly adjusted and consistent with the lighting conditions. It can be a cool, creative edit to brighten eyes beyond what is natural, but it is my personal preference to keep my children’s eyes looking normal for them. I’m moved by a portrait that reveals my child — that provides a glimpse of the deep mystery of them that I love and know, but cannot fully know. When their eyes no longer look like their eyes, they no longer look like people that I recognize and I find that jarring in images of my own children. So I flip back and forth between the SOOC and my edit while lightening the eyes to make sure I’m staying within the realm of reality.
Photoshop:
I take all of my favorite images into Photoshop to add brightness and contrast, and to clean up the frame of unwanted distractions. Here is a very low light image. I edited this image in Lightroom following the steps that I described above and then brought it into Photoshop.

35mm f1.4 1/200 ISO 1600

This is my SOOC! You can tell from my SOOC and settings and by the size of my son’s pupils how little light there was. But the light is still there! He has light on the side of his face closest to the window (camera right) and catch lights in both eyes. I shot this after my son’s tub before bed during blue hour in a north facing window.
Curves Layer:
Curves layers are my favorite. I can use over 15 Curves layers in one image dodging and burning! My basic and first Curves layer is to raise exposure and increase contrast. To do this, I click on the middle of the curve and drag it up to lift midtones, and then I add contrast to this curve adjustment by scooting the point at the bottom of the curve to the right to an output level of about 2.
My next Curves layer is usually to darken the background further. To do this I create a new Curves layer, click on the middle of the curve and drag it down until the background is as dark as I’d like it. I then take a black brush and brush the adjustment off my subject.

Levels Layer:
After a Curves layer (or 20) I use a Levels layer to set my black point and my white point. This adjustment maximizes your tonal range by pushing the blacks and whites as far as they can go before clipping or losing information. To do this with a Mac, hold down Option as you drag the black point slider on the far left beneath the histogram to the right, towards the left edge of the histogram. The screen will turn white as you pull further towards the right until a black point appears on the white screen, indicating that you are starting to clip shadows — so stop here and pull the slider back to the left to a white screen, just before the black point appeared. Rinse and repeat with the white point slider pulled towards the left. There are YouTube videos on setting the black point with a Levels layer if this is confusing.

Here are examples of other low-light portraits of my children next to windows. Sometimes I edit the actual window out of the image but it’s always right there so I have nice, directional light, catch lights, and so the light falls off the subject into shadow.

35mm f3.2 1/400 ISO 800


35mm f1.4 1/400 ISO 1250


35mm f2.5 1/250 ISO 1250

35mm f3.2 1/500 ISO 500

57mm f3.5 1/400 ISO 1250
This image of my daughter is an example of short lighting, shot from the shadowed side of her face that is furthest from the light source. I love the visual dramatic effect of using this style of lighting.
Reflections:

35mm f1.8 1/320 ISO 500
A window portrait with a beautiful reflection makes me happy. The trick to getting a nice reflection is simply shooting at an angle that includes the reflection and, less simply, having a subject that is brighter than the light on the other side of the window. Low light conditions are, therefore, usually great for capturing a nice reflection of your subject in the window. In post, you can make your subject’s reflection more dramatic by brushing on more clarity, dehaze, and a slightly increasing exposure and or lifting shadows.

50mm Freelensed 1/160 ISO 1600 (very low light)

35mm f1.4 1/100 ISO 1250 (very low light)
The Great Outdoors:
I’ve chosen to focus this discussion on indoor black and white portraits but the same ideas for making use of low light for your beautiful black and white images apply outside as well!

Golden hour side-lit (35mm f3.5 1/320 ISO 100)
Outdoors, my favorite images were taken in low or low(ish) light. I love to convert images that were taken during golden hour and just after golden hour when you can find beautiful directional light with soft, glowing highlights and midtones, with a nice gradual transition to shadows.

Sunset side-lit (35mm f2.8 1/640 ISO 200)

Sunset back lit (55mm f2.8 1/640 ISO 125)

After sunset back-lit (70mm f4.0 1/500 ISO 2000)

Sunset back-lit (31mm f4.5 1/400 ISO 500)

Overcast late afternoon (Lensbaby Sol45 f3.5 ISO 500)
Images taken outdoors on overcast or foggy days also convert to black-and-white beautifully. I love the depth and detail of black-and-white images taken in these conditions. The diffused light is soft and the transition from highlights to midtones to shadows is gradual.

After sunset side-lit (35mm f1.4 1/320 ISO 1600)
Thank you for taking the time to read through this. I hope that you found something helpful that you can bring to your own shooting and editing. I’m happy to answer any questions that you might have. Many thanks to p52clicks for inspiring me everyday and for inviting me to chat about my passion for low light, black and white photography.

35mm f1.4 1/500 ISO 200


Comments