Black and White by Rebecca Lundin
- Angie Mahlke

- Mar 8, 2020
- 3 min read

I’ve always been drawn to black and white photography. There are three things that I really love about it:
1) The timeless feel it lends to an image.
2) It strips away all the distractions and really focuses on the lines, light, shadow, and subject matter. This leads directly into #3.
3) It seems to magnify the mood and emotion of an image. Black and white can take a happy image and show elation, a sad image and show heartbreak, and so on.
These reasons lead me to want to improve my black and white conversions so one night, about a year ago, I sat down and really looked at what made a black and white “good”. I found out that to know what makes a good black and white you must first know what makes a weak one - flat, uninteresting, boring, bad composition, these things are all magnified in black and white. So when taking an image look for dynamic light, interesting shadows, good composition, and layers. A good base is important for a good black and white but that’s not the end all be all. You CAN take an image that is a little on the boring side and make it wonderful with a little post processing, so let’s move on to the fun part - editing!
When editing my black and whites I personally use both Lightroom and Photoshop. I like LR for the base editing but I take it into PS to do finishing touches like levels work, sharpening, and sizing for web. Although you can use just LR to do all of it, I like PS a little better.
Let’s get started! I’m going to show you 4 images.
1) This is the SOOC photo.
2) Black and white, converted but nothing else done to it.

3) Added life to the image in LR with radial filters, tonal curve, clarity, blacks & whites.

4) Took it in to PS and did levels work on it.

Okay let’s break it down.
In Lightroom convert your image to black and white in your preferred method (a lot of people say a good black and white image starts with a good color edit but I don’t edit that way. I convert to BW SOOC and then edit).
Now start at the top and work your way down.
I want you to play with your white balance after you’ve converted it, see what it does to the image. It’s a subtle change but it can make a big difference. Now go down and fix your basics.
I usually drop my highlights all the way down (unless they make the whites too muddy, do this by feel) and bring the shadows up to at least 50.
Make sure that you drag that black slider down until you have a nice dark black. This makes images pop. Don’t be afraid of clipping as long as it’s not an important part of the image (i.e. the face). Moving on to the white slider bring your slider up until it just clips and then drag it back down ever so slightly.
I always add clarity to my BW images and I highly suggest you do. This makes a black and white sing in my opinion!
Next add an “S” curve in the curves panel. Sometimes you have to go back up and readjust sliders in the basic panel after you do this.
Don’t forget the HSL sliders. A lot of people skip right over these when doing BW editing but they can be really useful. Bringing up orange can brighten the skin. Bringing down yellow or green can make your subject pop. I suggest playing with them and seeing what they do your image (each image is different).
Next comes radial filters. These are super important and can act like dodging and burning in Lightroom. Usually when using these if I want to “dodge” I will up the exposure by .4, add a little whites, and lower or raise contrast when needed. When “burning” I lower the exposure by .4 and drop my blacks a little.
Here is an image before radial filters and after and the third image shows where I added them on the image.


And that’s about it! I take it into PS because I like to use it for sharpening and resizing. I also sometimes run a few levels layers on places that need it but that could be done with radial filters in LR. I just like levels better!
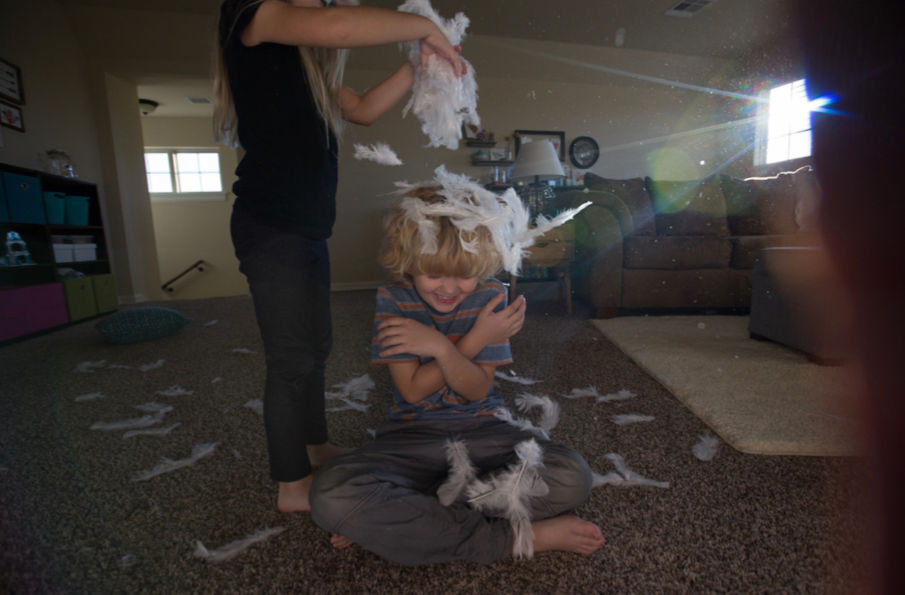
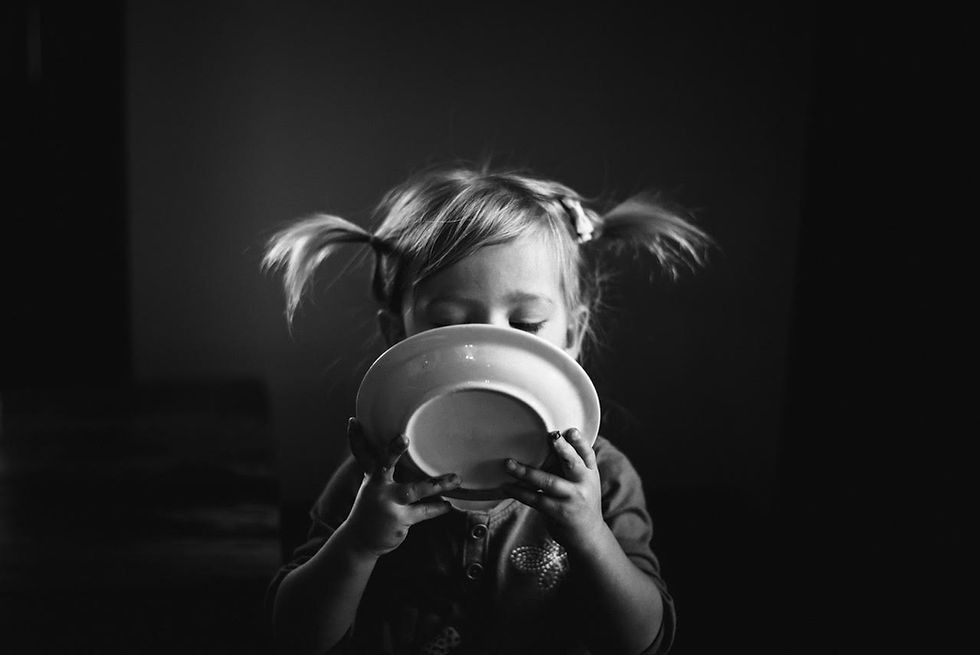
Here are a few of my latest black and whites using the editing techniques above!


Such beautiful images! Thanks for your generous insights :)